How to Appeal a Visa Rejection Through Official Immigration Channels
Opening your email to find a "Rejected" notification from the Indonesian Directorate General of Immigration is a gut-punch that can derail your entire life plan. I remember sitting in a coffee shop in Bali, staring at my laptop screen in disbelief when my own extension was denied for a tiny clerical error I didn't even know I'd made. This guide provides the exact steps you need to take to challenge a rejection, fix document errors, and navigate the official channels to get your Indonesian residency back on track.
Understanding the Root Cause of Your Visa Rejection
Before you can effectively appeal, you have to play detective. The Indonesian immigration system, specifically the newer e-Visa and Molina portals, rarely provides a deep narrative on why you were turned down. Often, you will see a short, cryptic note in the status section. These notes are the keys to your appeal strategy. I have seen countless expats lose weeks of time because they tried to appeal the wrong issue.
Common triggers for a rejection include passport validity that falls under the six-month (or sometimes 12-month) threshold, blurry document scans, or a mismatch between your stated purpose of stay and the visa type you applied for. If you are applying for a Remote Worker Visa (E33G): Digital Nomad Requirements and Limitations, the scrutiny on your proof of income is particularly high. If the officer suspects you are working for a local company without the proper permit, they will reject the application immediately.
Another frequent headache is the sponsorship letter. If your sponsor is a PT PMA, immigration will check if the company's NIB (Business Identification Number) is active and if they have the quota to sponsor a foreigner. You can read more about these requirements in our guide on Employer Sponsorship: Navigating the RPTKA and Work Permit Process. If the rejection is due to a sponsor issue, no amount of arguing on your part will fix it; the sponsor must update their corporate data in the system first.
Identifying the Rejection Code and System Feedback
When you log into the Molina portal, look specifically for the "Catatan" or "Remarks" section. The system has become slightly more transparent, but it still requires some interpretation. Phrases like "Dokumen tidak terbaca" mean your scan quality was too low. If it says "Lampiran tidak sesuai," you likely uploaded the wrong document to a specific slot—for example, putting your bank statement where your health insurance proof should be.
If the rejection is more serious, such as "Masuk dalam daftar penangkalan," you are facing a much larger hurdle. This means your name has appeared on a blacklist. For anyone worried about their status in this regard, it is vital to check The Blacklist (Cekal): Reasons for Being Banned from Entering Indonesia to understand if your rejection is a simple administrative fix or a legal barrier.
The Importance of Document Accuracy
I cannot stress this enough: Indonesian immigration officers are meticulous about formatting. If your birth certificate or marriage license isn't in Indonesian or English, it will be rejected. Even then, they often prefer "Certified Translations" from recognized providers. Services like RushTranslate can be a lifesaver here, providing the necessary certification that officers look for. Using a reputable service ensures that your appeal isn't rejected for the exact same reason as your initial application.
If you are dealing with complex legal documents, make sure you understand Consular Legalization vs Apostille: Indonesia’s New Apostille Rules Explained. Since Indonesia joined the Apostille Convention, the process has changed significantly, and submitting a "legalized" document when an "apostilled" one is required is a surefire way to get a rejection during the appeal phase.
Navigating the Official Revision and Appeal Process
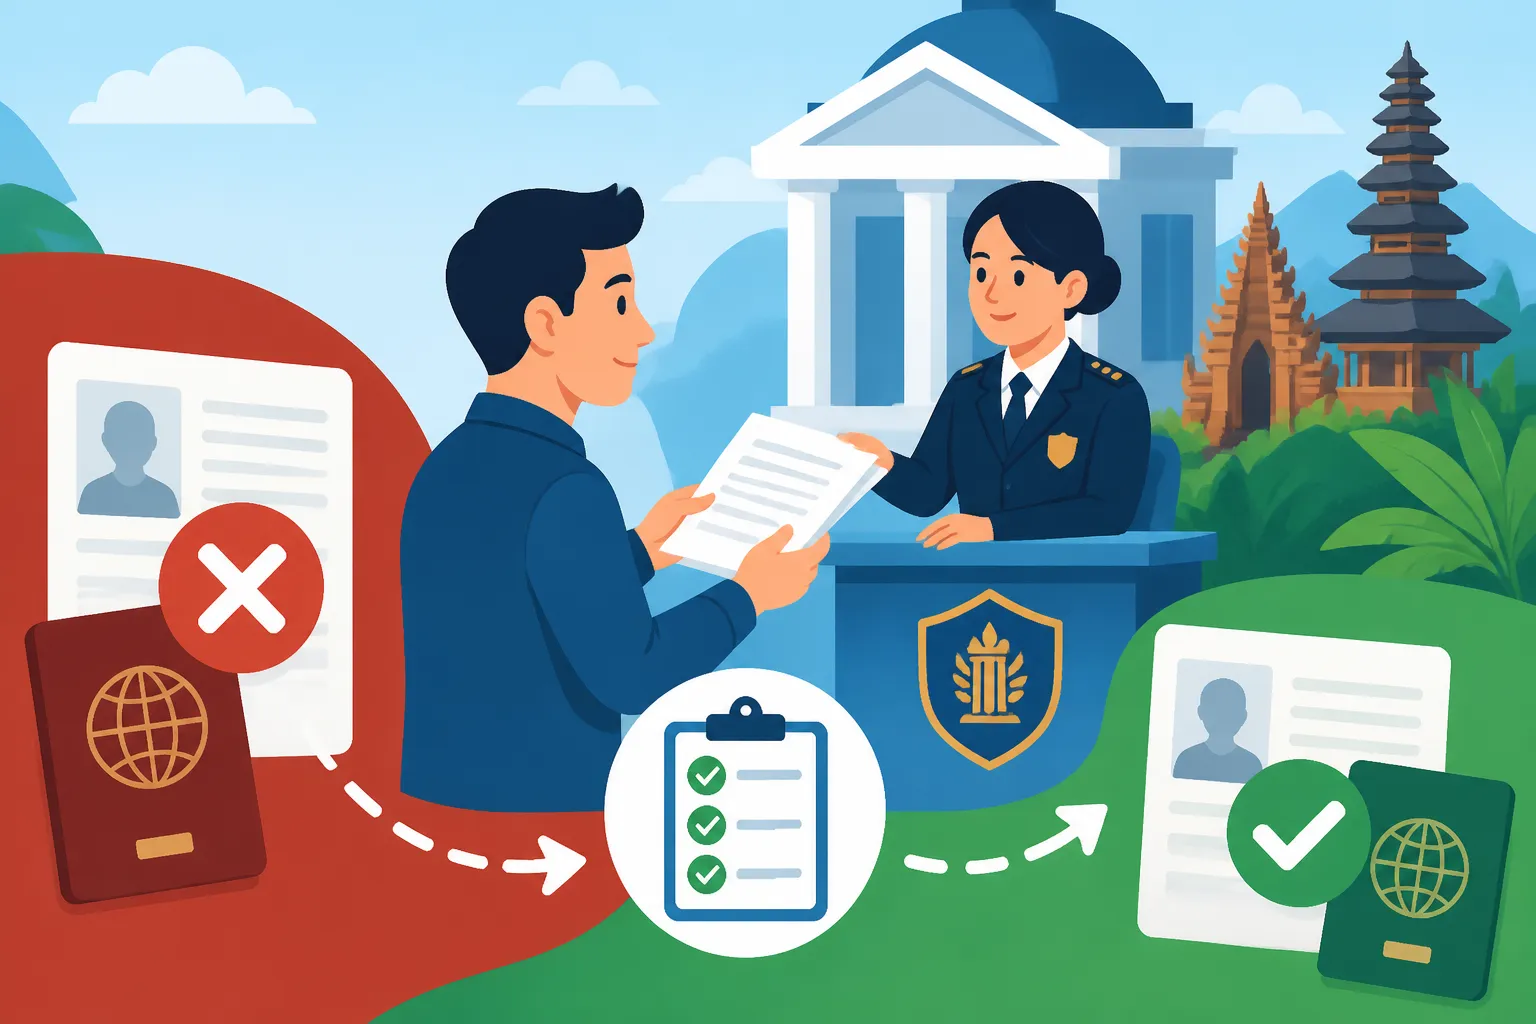
In the Indonesian immigration framework, there isn't a large, friendly "Appeal" button. Instead, the process usually takes one of two paths: an online "Revision" (Perbaikan) or a physical "Administrative Appeal" (Sanggahan). The path you take depends on whether the rejection was a "Soft Rejection" (inviting you to fix errors) or a "Hard Rejection" (denying the application entirely).
If you receive a notification that allows for a revision, you are in luck. This is common for KITAS Explained: Working, Dependent, and Investor Temporary Stay Permits. You usually have a window of 7 to 14 days to re-upload the correct documents without paying the visa fee again. If you miss this window, the application is forfeited, and you will have to start from scratch, paying all fees once more.
Submitting a Revision via the Molina Portal
To submit a revision, log into your account and navigate to the "Permohonan Saya" (My Applications) tab. Find the rejected application and look for the edit icon. You must address every single point mentioned in the remarks. If they asked for a better bank statement and a new sponsorship letter, do not just upload one and hope for the best.
One trick I’ve learned over the years is to combine the requested document with a short "Letter of Explanation" in a single PDF. In this letter, state clearly in both English and Indonesian what you have fixed. This makes the officer's job easier and shows that you are taking the process seriously. If you are struggling with the interface, you can check our guide on Tracking Your Visa Status on Molina: What "Pending Payment" Means for tips on navigating the dashboard effectively.
Direct Communication with the Directorate General
If your online revision is rejected or if you were never given the option to revise, you may need to take your case to the Directorate General of Immigration (Ditjen Imigrasi) in Kuningan, South Jakarta, or the regional office (KanIm) that handled your case. This is where things get "very Indonesian." You cannot just walk in and demand to see the Director.
You will need to prepare a formal "Surat Sanggahan" (Letter of Disagreement). This letter must be formal, printed on high-quality paper, and signed on a 10,000 IDR Materai stamp. In this letter, you must provide evidence that the rejection was based on an error by the system or a misunderstanding of your documents. For example, if they rejected you for lack of funds, but you actually provided a high-balance account, you would highlight those figures clearly. More advice on this specific pain point can be found in Visa Denial Reasons: Why Your Proof of Funds Was Rejected.
Strategies for Overcoming Complex Rejections
Some rejections are more complicated than a simple typo. If you are applying for a specialized visa, such as those related to Starting a PT PMA: Investor Visas, Directorships, and Immigration Rules, the rejection might involve multiple government ministries, such as the BKPM (Investment Coordinating Board). In these cases, your appeal must be coordinated.
If the rejection involves your health or insurance status, you may need to provide more robust proof of coverage. For many expats, having a policy from an international provider like Cigna Global satisfies the "health insurance" requirement that occasionally pops up for long-term stay permits. Having a globally recognized certificate can prevent the "unknown insurance provider" rejection that sometimes happens with obscure travel insurance.
When to Use a Visa Agency for Your Appeal
While I am a big advocate for doing things yourself, there is a time and a place for a professional "Biro Jasa." If your appeal is stuck in a loop or if you are being asked to provide documents that don't seem to exist, a reputable agent can often find out exactly what is happening behind the scenes. They have "runners" who visit the immigration offices daily and can speak to officers directly.
However, you must be careful. There are plenty of scammers who will take your money and promise a "guaranteed" appeal. Always vet your sources. You can read my thoughts on Dealing with Immigration Agents: How to Vet Biro Jasa and Avoid Scams to make sure you don't end up in a worse position than when you started. A good agent will never ask for "extra fees" to bribe an officer; they will charge for their expertise in document preparation and their time spent at the office.
Comparison of Rejection Fixes
| Rejection Remark | Likely Cause | Recommended Action |
|---|---|---|
| Dokumen Tidak Jelas | Blurry or low-res scan | Re-scan at 300dpi in color; use a flatbed scanner, not a phone. |
| Masa Berlaku Paspor | Passport expires in < 6 months | Renew passport, then use iVisa to update your application details. |
| Sponsor Tidak Aktif | Company NIB or tax issue | Contact your HR; the sponsor must update their OSS and immigration profile. |
| Dana Tidak Mencukupi | Bank balance too low or wrong currency | Provide 3 months of statements showing at least $2,000 USD equivalent. |
| Jenis Visa Tidak Sesuai | Wrong visa category selected | You cannot appeal this; you must apply for the correct visa type. |
Moving Forward After a Final Denial
Sometimes, despite your best efforts, the appeal is denied. It’s a bitter pill to swallow, but it’s not always the end of your time in Indonesia. A final denial usually means the specific application is closed. In many cases, you are free to apply again immediately, provided you have addressed the reason for the initial failure.
If the denial was due to a technicality in the e-Visa system, I often recommend using a platform like iVisa to manage the second application. They provide an extra layer of review that can catch errors before they reach the immigration officer’s desk. It costs a little more, but compared to the stress of a second rejection, it is often worth the peace of mind.
The "Clean Slate" Strategy
If your appeal is going nowhere and your current visa is about to expire, the best move is often to leave the country and apply for a fresh visa from abroad. This is known as the "visa run," though most of this can be done via e-Visa. By leaving, you trigger an "Exit Permit Only" (EPO) which closes your old, problematic file and allows you to start fresh. Just make sure you haven't been blacklisted before you leave, as that would prevent your return.
Before you make any big moves, ensure your documentation is flawless. Use RushTranslate for any new certificates, ensure your bank statements are stamped by the bank, and double-check your passport's physical condition. A small tear in a passport page can lead to a rejection just as easily as a missing tax ID.
Final Checklist for a Successful Appeal
- Read the "Remarks" section carefully and translate it if it's only in Indonesian.
- Gather the corrected documents and ensure they are high-resolution color scans.
- Write a formal Letter of Explanation (Surat Penjelasan) to accompany your revision.
- If the portal allows, upload the new documents within the 7-14 day window.
- If the portal is closed, visit the Directorate General in Jakarta with a notarized appeal letter.
- Keep a copy of your "Bukti Tanda Terima" (Proof of Receipt) for every document you submit in person.
Disclaimer
This guide is based on personal experience and the administrative landscape of Indonesian Immigration as of 2026. Immigration laws and digital platforms in Indonesia are subject to frequent and sudden changes. This information is for educational purposes and does not constitute legal advice. Always verify requirements with the official Directorate General of Immigration website or a certified legal professional before making travel or residency decisions.