Setting up an eSIM for Bali Before You Fly: Beware of Unregistered Blockages
Arriving at Ngurah Rai International Airport and realizing your phone has zero signal—despite having paid for a "global" roaming plan—is a rite of passage no one wants. I spent my first three hours in Bali sitting on a suitcase near the luggage carousel, desperately trying to log into the spotty airport Wi-Fi just to find my driver's WhatsApp number. This guide solves the complex puzzle of Indonesian mobile connectivity so you can land, connect, and get on with your island life immediately.
Understanding the Indonesian eSIM Landscape and the IMEI Trap
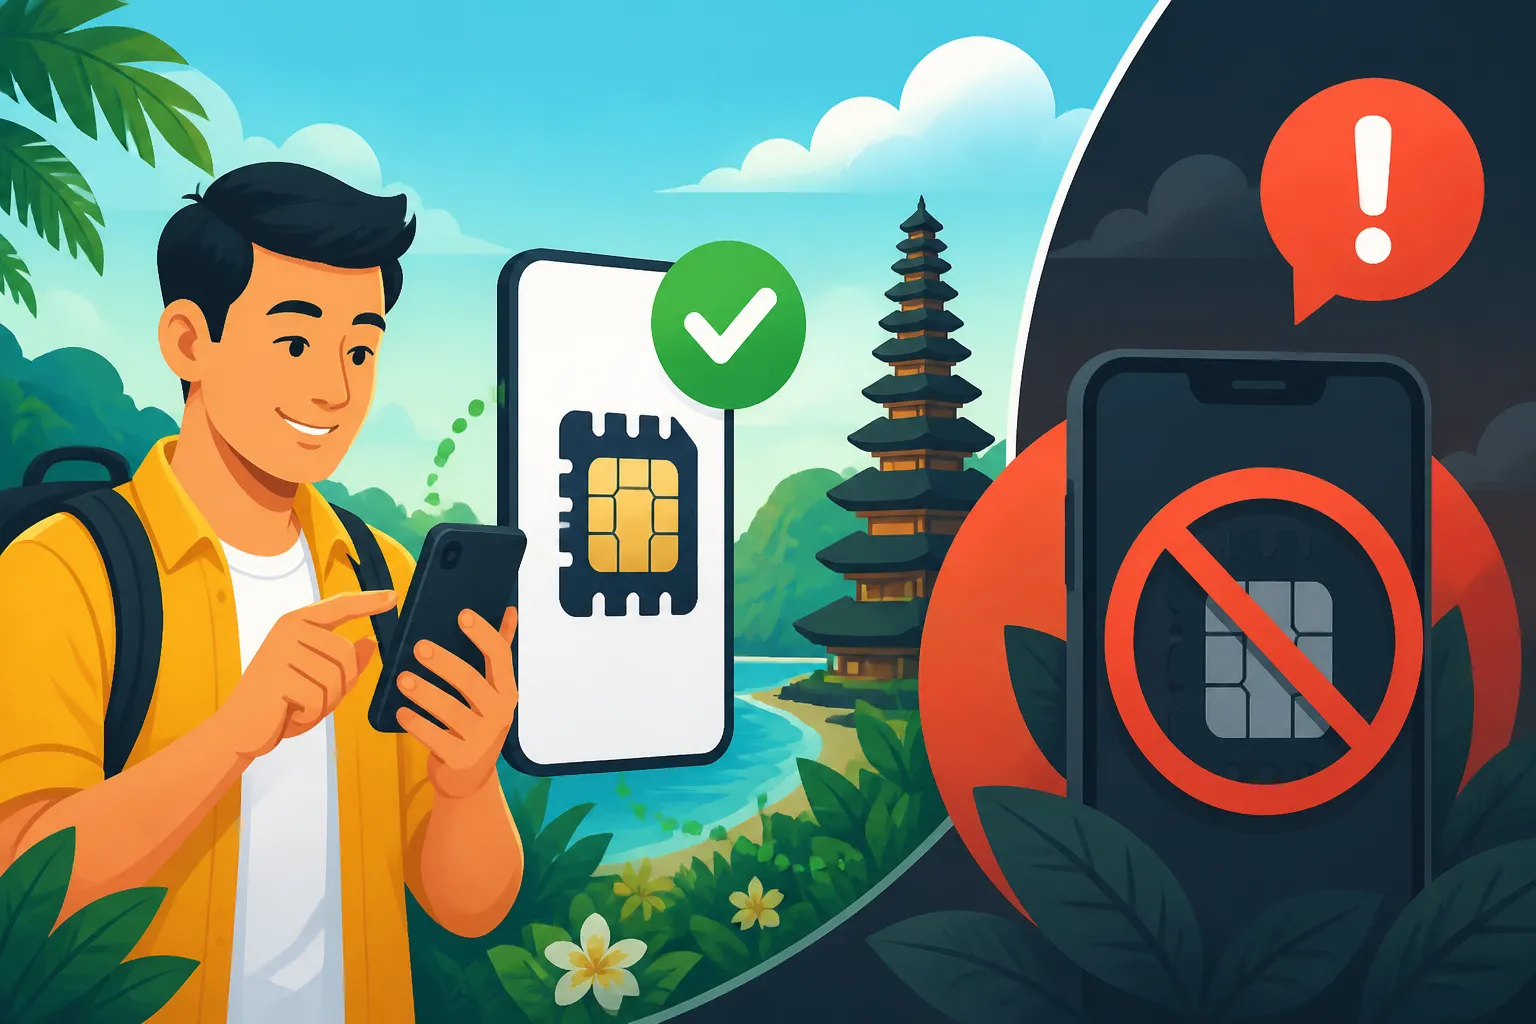
The biggest hurdle for any foreigner bringing a mobile device into Indonesia is not the signal strength or the price of data, but a bureaucratic system known as IMEI registration. In April 2020, the Indonesian government implemented a strict policy to crack down on the black market for mobile phones. Every single mobile device—phones, tablets, and even some smartwatches—must have its International Mobile Equipment Identity (IMEI) registered in the national database to access local cellular networks. If your device is not registered, you will see the dreaded "No Service" icon, regardless of how many eSIMs you try to install.
For tourists and short-term visitors, there is a grace period. If you are using a foreign SIM card and roaming, your phone will usually work without any registration. However, roaming is notoriously expensive. The moment you try to switch to a local provider to save money, the network will check your IMEI. If it is not in the system, you are blocked. This is where the confusion starts for those trying to set up an eSIM. Many travelers believe that an eSIM bypasses these rules because it is digital. This is a myth. The network identifies the hardware, not just the SIM profile.
If you plan to stay for less than 90 days, you can obtain a temporary IMEI registration at many local provider outlets, but this often requires a physical visit. If you are staying longer, you must navigate the Mandatory IMEI Registration: The 90-Day Rule and Airport Customs Process to ensure your phone isn't permanently blocked from Indonesian towers. Understanding this distinction is the difference between a seamless arrival and a week of frustrating technical support chats.
The 90-Day Rule for Foreign Devices
The Indonesian government allows foreign-bought phones to operate on local networks for up to 90 days without paying import taxes, provided you register them correctly as a tourist. This is a temporary "whitelist" status. After 90 days, the device will be blocked unless you have gone through the formal customs declaration and paid the associated taxes. For many expats, this becomes a major financial decision. If your phone is worth more than $500, you will be taxed on the remaining value. You can read more about how to minimize these costs in our guide on Calculating IMEI Customs Tax: The $500 Exemption and NPWP Discount.
Many travelers attempt to skirt this by only using Wi-Fi, but in Bali, where you need a phone for everything from ordering a Gojek to checking your Agoda booking details, being offline is not a viable strategy. The 90-day rule is strictly enforced by the Ministry of Communication and Information Technology (Kemenperin), and once a phone is blocked, it can be a nightmare to unblock it without a trip back to the airport customs office.
Local vs. International eSIM Providers
When looking for an eSIM before you fly, you have two main paths: international travel eSIMs like Airalo or local Indonesian eSIMs from providers like Telkomsel or XL Axiata.
International providers like Airalo are incredibly convenient because they handle the "roaming" aspect for you. Because these eSIMs often route traffic through a third-party international gateway, they sometimes bypass the immediate IMEI blocking that hits local SIMs. This makes them the "safe" choice for the first 14 to 30 days of your trip. However, because the data is being rerouted, you might experience slightly higher latency (ping), which can be annoying if you are trying to do high-stakes remote work or gaming.
Local eSIMs, on the other hand, offer the best speeds and the lowest prices. You can often get 50GB of data for a fraction of what an international provider charges. The catch? You generally cannot fully activate a local Indonesian eSIM until you are physically in the country and have presented your passport and IMEI for registration at a physical store or a dedicated airport kiosk. This is why we recommend using an international eSIM for your arrival and then transitioning once you are settled.
How to Set Up Your eSIM Before Landing in Denpasar
Preparation is key to avoiding the "No Service" trap. You should ideally begin the eSIM process at least 48 hours before your flight. This gives you time to troubleshoot any installation errors while you still have a stable, high-speed internet connection at home. Most eSIM providers will give you a QR code or a manual activation key. It is a good idea to print this out or save a screenshot on a separate device; you cannot scan a QR code that is displayed on the screen of the phone you are trying to activate.
Once the eSIM is installed, it will likely show "Activating" or "No Service" until you actually touch down and connect to an Indonesian cell tower. Do not delete the eSIM profile if it doesn't work immediately! Deleting an eSIM profile usually "kills" the digital token, and you will have to buy a new one. I have seen countless travelers lose $30 because they got nervous during a layover and hit the delete button.
Step-by-Step Installation Guide
- Check Compatibility: Ensure your phone is "Carrier Unlocked." If you are still paying off your phone on a contract in the US, UK, or Australia, your carrier may have locked the eSIM slot. You can check this in your settings under "About Phone" and "Network Provider Lock."
- Purchase Your Plan: I recommend starting with a small 1GB or 3GB plan from Airalo just to get you through the airport and to your first hotel. You can always top up later.
- Install via QR Code: Go to your Cellular/Mobile Data settings and select "Add eSIM." Scan the code provided in your email.
- Label Your SIMs: Label your home SIM as "Primary" and the new eSIM as "Bali" or "Travel." This prevents you from accidentally using your home plan’s expensive data.
- Toggle Data Roaming: This is the most important step. For travel eSIMs to work, you must turn "Data Roaming" ON for the specific travel eSIM profile, but keep it OFF for your primary home SIM.
While you are waiting for your flight, it is also a great time to download the essential apps for Indonesia. Beyond the basics, you will want to have your Agoda app updated for your hotel vouchers and Shopee downloaded if you plan on staying long-term, as it is the easiest way to buy "Pulsa" (phone credit) once you eventually switch to a local number.
Troubleshooting Registration Blockages
If you land, turn off airplane mode, and still have no data after five minutes, do not panic. First, check your APN (Access Point Name) settings. Most eSIMs configure this automatically, but sometimes you need to enter it manually (e.g., "globaldata" or "internet"). Your eSIM provider’s app will have these specific settings listed in their help section.
If the APN is correct and you still have nothing, you might be facing an IMEI block. This happens more frequently with local SIMs than with travel eSIMs. You can verify your status by How to Check Your IMEI Registration Status via the Kemenperin Website. If your IMEI is not found, you will need to head to a physical "Grapari" (Telkomsel service center) or an XL Center. These are located in major malls like Beachwalk in Seminyak or Mal Bali Galeria. You will need your passport, your phone, and a healthy dose of patience, as these centers can be quite busy.
Comparing eSIM Options: What Works Best for Tourists and Expats
Choosing the right plan depends entirely on your length of stay and how much you value "plug-and-play" convenience versus "local-price" savings. For a two-week vacation in Bali Neighborhoods: Seminyak, Canggu, Sanur, Ubud, and the Bukit, an international eSIM is almost always the better choice. For someone moving here on a Remote Worker Visa, you will eventually want a local number.
| Feature | International eSIM (e.g., Airalo) | Local Indonesian eSIM (e.g., Telkomsel) | Physical Tourist SIM (Airport Kiosk) |
|---|---|---|---|
| Setup Time | Pre-departure (at home) | Upon arrival (requires registration) | Upon arrival (at airport) |
| Price | Moderate ($10 – $30) | Very Low ($5 – $15) | High (Airport markup) |
| IMEI Hassle | Usually bypassed for <30 days | Strict registration required | Handled by the vendor |
| Data Speeds | Good (Rerouted) | Excellent (Direct) | Excellent (Direct) |
| Local Number | No (Data only) | Yes | Yes |
For those who are tech-savvy and want the best of both worlds, I suggest buying an international eSIM for the first three days. This gives you time to find a reputable phone shop or service center away from the airport madness where you can get a local eSIM at local prices. If you are staying in the more remote areas of the island, check out our Tourist SIM vs Local SIM: Telkomsel, XL, and eSIM Options for New Arrivals guide to see which network has the best coverage for your specific village.
Long-Term Connectivity: Moving from eSIM to a Full KITAS-Based SIM
If you decide to make Bali your permanent home, your relationship with Indonesian telecommunications will change. You will move from being a "guest" on the network to a "resident." Once you have your KITAS (Limited Stay Permit), you can register a SIM card under your own name and identity number (NIK), rather than using a temporary tourist registration.
This is a significant advantage because tourist SIM cards are often hard-coded to expire or be blocked after 90 days. A resident SIM, linked to your residency documents, allows you to maintain the same phone number for years. This is crucial for banking, as most Indonesian banks require a stable local number for SMS-based "OTP" (One-Time Password) security codes. You can learn more about these administrative steps in our guide on the Civil Registry (Catatan Sipil): SKTT and KTP WNA Explained.
Maintaining Your IMEI Status
Even with a KITAS, your phone hardware still needs to be legal. If you didn't register your IMEI at the airport upon arrival, you have a 60-day window to do it at a local customs office. The process is slightly more expensive after you leave the airport because you may lose the $500 tax-free allowance that is exclusively for arrivals. For more on this, see Registering IMEI at the Customs Office After Leaving the Airport (60 Day Limit).
Many expats find it easier to simply buy a phone locally in Indonesia. If you buy a phone from a reputable shop like Erafone or the official iBox, the IMEI is already registered in the national database. While the selection might be slightly different than back home, it saves you from the "No Service" anxiety. If you are considering buying a new device, check our comparison on Buying an iPhone in Singapore vs Indonesia: Tax Math and IMEI Hassles.
Staying connected in Indonesia is a bit like driving a scooter in Canggu—it looks chaotic from the outside, but once you know the unwritten rules, it is manageable. Start with a reliable travel eSIM, keep your passport handy, and never delete an eSIM profile in a moment of frustration. Before you know it, you will be Navigating Gojek and Grab: Food Delivery, Transport, and Package Courier apps like a local, with a full signal bar and the whole of Indonesia at your fingertips.
Housing and Living Disclaimer
The information provided in this guide is for general informational purposes only and is based on the regulations and technology available as of June 2026. Telecommunications laws, IMEI registration protocols, and visa requirements in Indonesia are subject to frequent changes. While we strive to provide accurate and up-to-date advice based on personal expat experience, we recommend verifying all technical and legal requirements with official government sources or authorized service providers before making financial commitments. We are not responsible for any connectivity issues, device blockages, or financial losses incurred while following this advice.