e-Visa and Molina System: How to Apply Online Without Visiting an Embassy
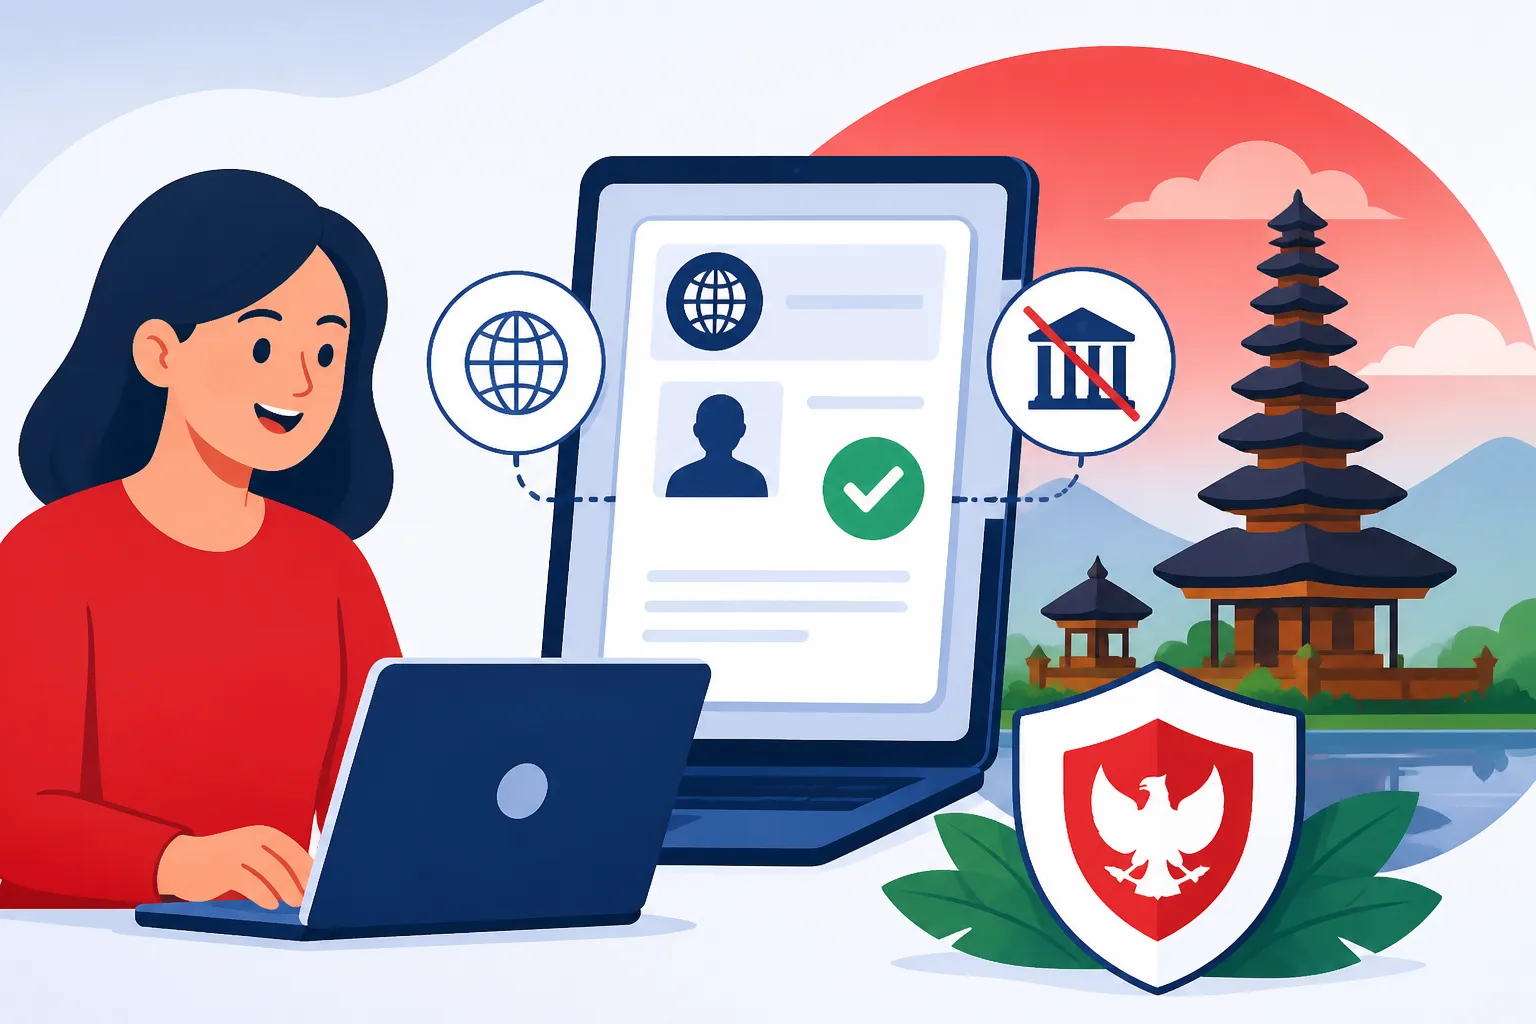
Navigating the Indonesian immigration system used to involve endless trips to embassies, confusing "mapt" folders, and the dreaded Jakarta traffic just to get a stamp. I spent weeks of my life in humid waiting rooms before the digital shift happened, so I know exactly how overwhelming the transition to a screen-based system can be. This guide solves the mystery of the Molina portal, ensuring you can secure your Indonesian e-Visa from your couch without losing your mind.
Understanding the Molina System and the e-Visa Transition
The Molina portal, which stands for "Modul Lalu Lintas Orang Asing," is the official gateway for almost all Indonesian visa services in 2026. For those of us who remember the "old days" of mailing passports to distant consulates, this system is a revelation, even if it has its quirks. It acts as a centralized hub where you can apply for everything from a simple 30-day visit to complex long-stay permits. The goal was to remove the middleman and the physical paperwork, though the digital bureaucracy can sometimes feel just as thick as the paper version.
When you first land on the Molina homepage, it might seem straightforward, but the technical backend is quite rigid. Unlike many Western systems that allow for minor typos, the Indonesian e-Visa system is unforgiving. I have seen friends lose their application fees over a single digit error in their passport number. The transition to this system has meant that the "boots on the ground" expertise of embassy staff has been replaced by automated algorithms and a remote verification team in Jakarta. This makes your attention to detail more critical than ever before.
To get started, you will need to create an account, which is a hurdle in itself. The system requires a verification email that sometimes disappears into the void of "Spam" folders, especially if you are using smaller, niche email providers. I always recommend using a major provider like Gmail or Outlook to ensure you receive the critical OTP (One-Time Password) codes. Once you are in, the dashboard allows you to track your progress, manage payments, and eventually download the PDF that will become your most prized possession when you land at Soekarno-Hatta or Ngurah Rai.
What is the Molina Portal Exactly
At its core, the Molina portal is a web-based application designed to streamline the entry process for tourists, business travelers, and prospective residents. It has effectively replaced the need for most physical visa stickers, moving towards a "paperless" entry where your visa is linked digitally to your passport number. This is particularly helpful for those living in countries where the nearest Indonesian embassy is a flight away. By using the official portal, you are dealing directly with the Directorate General of Immigration, which provides a level of transparency we didn't always have in the past.
The portal handles the entire lifecycle of a visa, from the initial document upload to the final issuance. You will find sections for Visa on Arrival (e-VoA), the B211A visit visa, and even portals for the new Remote Worker Visa (E33G): Digital Nomad Requirements and Limitations. It is a one-stop-shop that requires you to upload high-quality scans of your passport, a recent photograph, and proof of funds. The convenience of being able to apply 24/7 is the primary draw, though you should still account for Indonesian office hours for the manual verification phases of certain visa types.
Why the e-Visa is a Game Changer for Expats
For the expat community, the e-Visa system has eliminated the "visa run" anxiety that used to plague long-term residents. In the past, switching from a tourist status to a more permanent one almost always required leaving the country. Now, the system is increasingly integrated, allowing for smoother transitions. If you are looking into how KITAS Explained: Working, Dependent, and Investor Temporary Stay Permits function in 2026, you will find that the initial e-Visa is the foundation upon which your residency is built. Having that process handled online means you can start your journey while still wrapping up your life in your home country.
Furthermore, the e-Visa provides a layer of security. Since the document is a PDF with a unique QR code, you can keep multiple digital backups on your phone and in the cloud. Losing a physical passport used to mean losing the visa sticker inside, which was a nightmare to replace. With the e-Visa, you simply reprint the document. This peace of mind is invaluable when you are navigating the complexities of a new life in Southeast Asia. I always keep a copy in my Google Drive and a printed version in my carry-on, just in case the airport Wi-Fi decides to act up.
Essential Account Setup Requirements
Before you even think about hitting "Apply," you need to have your digital house in order. The Molina system requires a clear, color scan of your passport's bio-data page. This cannot be a blurry cell phone photo; it needs to be a professional-grade scan where every character of the MRZ (Machine Readable Zone) at the bottom is legible. If the system's OCR (Optical Character Recognition) cannot read your passport, your application will be stalled indefinitely. I often use services like iVisa to double-check my documents before submission if I feel the official portal is being particularly finicky with my uploads.
You also need a passport-style photograph that meets very specific criteria. Indonesia is quite strict about the background color and the lack of shadows. Do not try to use a selfie from your last vacation. Take the time to get a proper digital photo taken at a studio. Additionally, for certain visas, you might need your documents translated into Bahasa Indonesia. In these cases, using Certified Translators (Penerjemah Tersumpah) for Immigration Documents is not just a suggestion; it is often a requirement to ensure the legal validity of your application. Brands like RushTranslate are excellent for getting these documents turned around quickly so you don't miss your application window.
Navigating the Application Process on the Official Website
Once your account is live, the actual application process is a multi-step journey through various forms. The interface has improved significantly over the last few years, but it still requires a methodical approach. You will be asked for your personal details, your purpose of visit, and your intended address in Indonesia. Be very specific here. If you are staying at a villa in Bali or a hotel in Jakarta, provide the full address and a working phone number for the property. Immigration does sometimes cross-check these details, especially for longer-term visit visas.
One of the most common stumbling blocks is the "Sponsor" section. For many tourist visas, you can now self-sponsor or use a "Corporate" sponsor if you are traveling for business. However, if you are applying for something more substantial, like the Golden Visa (E28C) Guide: Investment Thresholds and Long-Term Residency, the requirements for sponsorship become much more stringent. The Molina system will prompt you for the sponsor's NIK (National ID number) or their corporate tax ID. If you are using a third-party service like iVisa to handle the heavy lifting, they often act as the bridge between you and these technical requirements.
Selecting the Right Visa Type
Choosing the wrong visa is the fastest way to get deported or fined. The Molina portal lists dozens of sub-codes, such as B1, B2, or the specialized E-series visas. It is vital to understand that a "Tourist" visa does not allow you to attend business meetings, and a "Business" visa does not allow you to actually work or receive a local salary. If you are a freelancer or remote worker, you should be looking specifically at the Remote Worker Visa (E33G): Digital Nomad Requirements and Limitations rather than a standard tourist entry. I've seen people get caught in the "social" visa trap, where they inadvertently perform activities that immigration deems "work."
For most short-term visitors, the e-VoA (B1) is the standard choice. It is valid for 30 days and can be extended once for another 30 days through the same portal. If you plan to stay longer, the B211A is the "gold standard" for expats-in-waiting, giving you 60 days with the possibility of multiple extensions. Always verify your choice against your actual travel plans. If you are unsure, checking your Arriving on an E-Visa: What to Show the Immigration Officer checklist can help you work backward from the entry point to the correct visa type.
Uploading Documents and Avoiding Common Errors
The upload section is where most people experience "Molina Rage." The file size limits are surprisingly small, often requiring you to compress your PDFs or JPEGs to under 200KB or 500KB. If your file is too large, the system will simply hang or give you a generic "Error 500" message. I use online compression tools to get my files just under the limit while maintaining clarity. Remember, the goal is to make it easy for the immigration officer to say "yes." If they have to squint to see your birth date, they might just click "reject" and move on to the next one.
Another frequent error is the "Name Match" issue. In Indonesia, names are often treated differently than in the West. If your passport has a middle name, it MUST be included in the application exactly as it appears. If your passport says "Jonathan David Smith" and you put "Jonathan Smith" on the form, you are asking for trouble. This discrepancy can lead to Visa Denial Reasons: Why Your Proof of Funds Was Rejected or even issues at the boarding gate. Also, ensure your passport has at least six months of validity remaining from your date of entry; the system will often block you if you are even a day short.
The Verification Stage and What it Means
After you submit and pay, your application enters a "Waiting for Verification" status. This is the "black hole" period where many travelers start to panic. For simple e-VoAs, this usually takes a few minutes to a couple of hours. For B211A or residency-track visas, it can take 3 to 5 business days. During this time, an officer is reviewing your uploads. If they find an issue, they will send a "Revisi" (Revision) request to your email. You usually have a very short window to fix the error before the application is canceled and your fee is forfeited.
I always recommend checking the portal status manually at least twice a day during this stage. Do not rely solely on email notifications, as they can be delayed or blocked. If you see a status like Tracking Your Visa Status on Molina: What "Pending Payment" Means, it usually implies the banking gateway hasn't confirmed your transaction yet. Patience is a virtue here, but proactive monitoring is your best defense against administrative delays. If you are in a rush, some travelers use iVisa's expedited services to ensure their application is prioritized and correctly formatted from the start.
Managing Payments and Troubleshooting Gateway Issues
The payment gateway is the "Final Boss" of the Molina system. Indonesia uses a system called Simponi for government payments, which is designed primarily for local debit cards and specific international credit cards. It is notoriously finicky. I have had my "verified by Visa" cards rejected five times in a row for no apparent reason, only for the sixth attempt to go through instantly. This is the most stressful part of the process because if the payment doesn't clear within the allotted time (usually 2 to 3 hours), your entire application is deleted, and you have to start from scratch.
To minimize the risk, I suggest having at least two different credit cards from different banks ready. Also, notify your bank that you are making a transaction to an Indonesian government entity. Many fraud detection systems will automatically flag a random payment to "Dirjen Imigrasi Jakarta" as suspicious and block it. If you continue to face E-Visa Payment Failures: Troubleshooting Credit Card Rejections on Molina, you might need to use a proxy or a third-party service that can handle the local payment for you.
| Visa Type | Duration | Typical Cost (IDR) | Extension Eligibility |
|---|---|---|---|
| e-VoA (B1) | 30 Days | 500,000 | 1x (30 Days) |
| Visit Visa (B211A) | 60 Days | 1,500,000 – 2,000,000 | 2x (60 Days each) |
| Remote Worker (E33G) | 1 Year | 12,000,000 – 15,000,000 | Renewable |
| Investor KITAS | 1-2 Years | 20,000,000+ | Renewable |
Credit Card Rejections and Workarounds
If your card is rejected, the first thing to check is whether you have "3D Secure" enabled. This is a mandatory requirement for the Indonesian gateway. Without that extra text-code verification step, the transaction will fail 100% of the time. If you are still struggling, try using a different browser. For some reason, the Molina payment page seems to play better with Chrome or Edge than it does with Safari. I’ve personally cleared a "stuck" payment just by switching from my MacBook to a Windows laptop.
Another workaround is to use a virtual card or a digital bank like Revolut or Wise. These often have better international compatibility than traditional brick-and-mortar banks. However, be cautious: if the payment is "pending" on your bank's end but "unpaid" on the Molina portal, do not try to pay again immediately. Wait for the session to expire, or you might end up being charged twice with very little hope of a refund. Dealing with the Indonesian bureaucracy for a refund is a saga you do not want to experience.
Proof of Funds and Financial Scrutiny
For most visas beyond the basic tourist entry, you will need to prove you have enough money to support yourself. The current requirement is usually a minimum of $2,000 USD (or equivalent) in a bank account. This must be shown via a bank statement from the last three months. The statement must be in your name and clearly show the closing balance. If you are applying for a Remote Worker Visa (E33G): Digital Nomad Requirements and Limitations, the income proof requirements are much higher, often requiring proof of a $60,000 annual salary.
The officers are looking for consistency. If you suddenly deposit $5,000 the day before you download your statement, it might look suspicious. They want to see that you have a stable financial life. If your bank statements are in a language other than English or Bahasa Indonesia, you will almost certainly need to use a service like RushTranslate to provide a certified version. Failure to provide clear financial proof is one of the leading Visa Denial Reasons: Why Your Proof of Funds Was Rejected, so do not cut corners here.
Understanding Billing Cycles and Expiration
Once you generate a "billing code," the clock starts ticking. This code is your ticket to the payment gateway. If you miss the payment window, the code expires. Do not try to use an expired billing code at a bank or via an app; the money will leave your account but won't be credited to your visa. You must return to the portal, hope your application was saved as a draft, and generate a fresh code.
Furthermore, once your visa is issued, it has an "expiry date for entry." This is different from the length of stay. For example, your e-Visa might be valid for 90 days from the date of issuance. This means you must enter Indonesia within those 90 days. If you wait until day 91, your visa is void, and you will be turned away at the airport. I always recommend applying about 3 to 4 weeks before your flight. Applying too early risks the entry window closing, and applying too late—well, we’ve all been in that "flight is tomorrow and I don't have a visa" panic.
Post-Approval: What Happens After You Get the e-Visa
The moment that "Approved" email hits your inbox, the weight on your shoulders will lift. But the process isn't quite over. You will receive a PDF document that contains your photo, a QR code, and a series of numbers. This is your official visa. You do not need to visit an embassy to get anything stamped. The digital record is already in the Indonesian immigration system, linked to your passport number. However, the physical reality of Indonesian airports means you need to be prepared for the human element.
I cannot stress this enough: print two color copies of your e-Visa. While the system is digital, airport officers in a rush often prefer a piece of paper they can scan quickly. If your phone dies, or the airport Wi-Fi is down, and you can't show your visa, you are at the mercy of the airline and immigration staff. I’ve seen people denied boarding at the departure gate because they couldn't pull up their PDF fast enough. Having it printed and tucked into your passport is the "veteran expat" move.
Printing and Digital Copies for Arrival
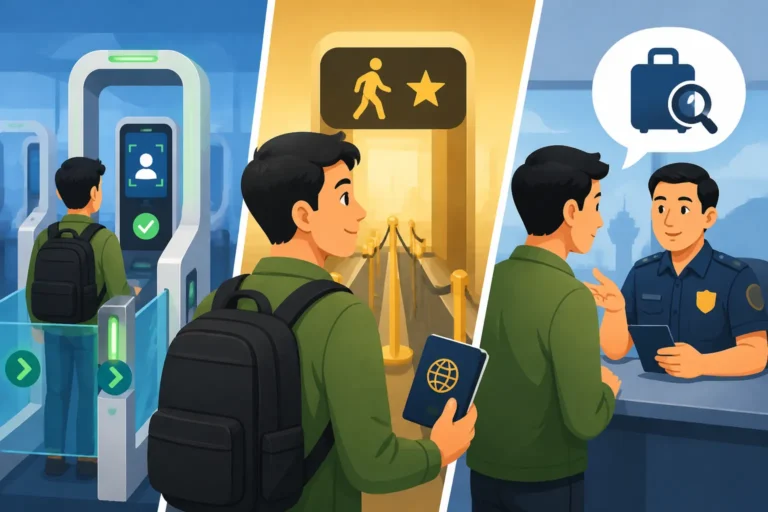
When you arrive in Indonesia, you will likely head toward the "E-Visa" or "E-Gate" lanes if you are at a major airport like Jakarta. If the E-Gates are working (and that's a big "if"), you simply scan your passport, and the system recognizes your visa. However, most first-time e-Visa holders will still need to see an officer for a quick biometric check—fingerprints and a photo. Having your printed visa ready to show the officer makes this interaction much smoother.
Beyond the airport, your e-Visa is an important identification document. If you are staying in a hotel or villa, the staff is legally required to report your presence to the local authorities (Siskohadi or local police). They will ask for a copy of your passport and your visa. Keeping a digital copy on your phone and a few printed "spares" will save you a lot of time during check-ins. It's also a good idea to have a backup of your health insurance, such as Cigna Global, which many landlords or long-term rental agencies might ask to see as part of your overall "resident profile."
The 90-Day Entry Window vs. Visa Validity
It is a common mistake to confuse the visa's "Entry Window" with the "Duration of Stay." Let's say your B211A visa is issued on January 1st. It might say "Must enter by March 31st." If you enter on March 30th, your 60-day stay starts from that day. You do not lose time just because you entered late in the window. However, the moment you pass through immigration, your 60-day countdown begins.
Keep a very close eye on your calendar. Overstaying in Indonesia is a serious offense, with fines currently set at IDR 1,000,000 per day. If you plan on extending your stay, you need to start the process well before your initial days run out. For those looking to stay indefinitely, you might eventually consider Converting Tourist Visas to ITAS Onshore: Is It Possible in 2026? to avoid the constant cycle of extensions.
Transitioning to Onshore ITAS
If you have entered on a B211A or a similar "convertible" visa with the intention of staying long-term, your e-Visa is just the beginning. The Molina system is also where you will initiate the transition to a Limited Stay Permit (KITAS). This process is significantly more complex and usually requires a local sponsor or a PT PMA (Foreign Owned Company). You will find that the documents you uploaded for your e-Visa will form the core of your KITAS application.
During this transition, you may be asked to provide more comprehensive health coverage documentation. This is where a plan from Cigna Global becomes essential, as local Indonesian insurance (BPJS) can be difficult to navigate for new arrivals. Having international-standard coverage not only protects you but also satisfies the more stringent requirements of long-term residency permits. The goal is to move from being a "visitor" on the Molina portal to a "resident" with a permanent login and a different set of digital rights.
Common Pitfalls and Expert Tips for a Smooth Experience
After years of helping fellow expats navigate this, I've noticed a few patterns in where things go wrong. The most common pitfall is complacency. People assume that because it’s "online," it’s like ordering from Amazon. It isn’t. It’s a formal legal process with a foreign government. Treat it with the same respect you would a court appearance. Double-check every field, triple-check your photo, and never leave your application until the last minute. "Jam karet" (rubber time) exists in the digital world too, and "system maintenance" always seems to happen right when you need to pay for your flight.
Another tip: use a desktop computer, not your phone. The Molina mobile interface is notoriously buggy. Buttons disappear, forms don't scroll properly, and file uploads often fail. Sit down at a desk, use a stable Wi-Fi connection, and take your time. If you get an error message, don't just keep clicking; take a screenshot. If you ever need to file a support ticket, having a screenshot of the error code is the only way to get a helpful response from the immigration tech team.
Image Sizing and Format Nightmares
The Molina portal has a very "2010" approach to file sizes. In an era where a single iPhone photo is 5MB, the 200KB limit feels like a cruel joke. To overcome this without losing quality, use a "Save for Web" setting if you have Photoshop, or use high-quality online PDF compressors. If your passport scan looks "grainy" after compression, it might be rejected. The balance between file size and legibility is the hardest part of the application.
Also, pay attention to the file format. While most sections accept PDFs, some specifically demand JPEGs for photos. If you upload a PNG or a HEIC file (the default for many iPhones), the system might accept it but then fail later in the verification stage. Convert everything to standard JPEG or PDF before you begin. If you are struggling with document preparation, using a service like iVisa can bypass these technical headaches as they handle the formatting for you.
Why Your Name Must Match Exactly
Indonesian administrative culture is "exact match" culture. If your middle name is on your passport but not your flight ticket, you might be okay. But if it's on your passport and not your visa, you're in trouble. This extends to suffixes like "Jr." or "III." If it is in the Machine Readable Zone at the bottom of your passport, it must be in the "Full Name" field of your application.
I once helped an expat who had been rejected three times. It turned out he was putting "St." for Street in his home address, but his bank statement said "Street." In the highly automated verification process of the Molina system, these tiny discrepancies can trigger a manual review or an automatic rejection. Consistency across your passport, your bank statement (translated by RushTranslate if necessary), and your application is your best friend.
The Role of Support Agencies and Third-Party Tools
While the Molina system is designed to be "DIY," there is no shame in seeking help. For many, the time and stress of dealing with the portal's glitches are worth more than the fee charged by an agency. If you are applying for a high-stakes visa like the Golden Visa (E28C) Guide: Investment Thresholds and Long-Term Residency, I would almost always recommend professional assistance. Agencies have direct lines to the immigration offices and can often solve "system errors" that would leave an individual stranded.
Even for simpler visas, tools like iVisa provide a much more user-friendly interface and better customer support than the government portal. They act as a buffer, catching your errors before they reach an immigration officer's desk. Additionally, for health-related requirements, having a reputable international provider like Cigna Global ensures that your documentation meets the high standards required for long-term stay permits. Think of these services as your "expat support team"—they help you navigate the hurdles so you can focus on enjoying your new life in Indonesia.
Disclaimer
The information provided in this guide is for general informational purposes only and does not constitute legal or professional immigration advice. Indonesian visa regulations, including those concerning the Molina system and e-Visa requirements, are subject to frequent changes by the Directorate General of Immigration. While we strive to keep this information current for 2026, you should always verify the latest rules on the official government website or consult with a qualified immigration professional before making travel arrangements or financial commitments. We are not responsible for any visa denials, fines, or entry issues resulting from the use of this guide.