Arriving on an E-Visa: What to Show the Immigration Officer
Stepping off a plane into the thick, humid air of Jakarta or Bali is a sensory overload, but nothing spikes an expat's cortisol like standing in that massive immigration queue. I still remember the first time I landed with an e-visa, clutching a crumpled printout and worrying if the officer would reject my digital QR code. This guide ensures you walk up to the counter with total confidence, knowing exactly which documents will satisfy the Indonesian authorities.
The Digital Shift: Understanding the Indonesian E-Visa System
The transition to the Molina e-visa portal has revolutionized how we enter Indonesia, but it hasn't eliminated the bureaucracy; it has just moved it behind a screen. Gone are the days when every foreigner had to queue for a physical sticker at an embassy or the VOA desk, but the digital system comes with its own set of anxieties. For many newcomers, the biggest hurdle is the technical instability of the official portals. This is why services like iVisa have become so popular for those who prefer a more streamlined, user-friendly interface to ensure their application is actually processed without a "pending payment" loop.
When you hold an e-visa, you are essentially carrying a digital promise from the Directorate General of Immigration. However, the officer at the desk is the final gatekeeper. They are looking for consistency between your application data and your physical presence. I’ve seen people get pulled aside simply because their printout was blurry or their passport number had a typo that didn't match the QR code. Understanding the e-Visa and Molina System: How to Apply Online Without Visiting an Embassy is your first step toward a smooth entry, but the physical arrival is where the real work happens.
Indonesia has integrated most of its entry points with biometrics. While you might see locals and some KITAS holders breezing through the e-gates, as a fresh arrival on an e-visa, you will likely still need to interact with a human officer. They aren't just checking your visa; they are verifying your intent. If you’re arriving on a B211A or a similar visitor visa, the officer needs to be certain you aren't here to start an illegal business in a Canggu cafe.
Essential Documents Checklist: What to Have Ready
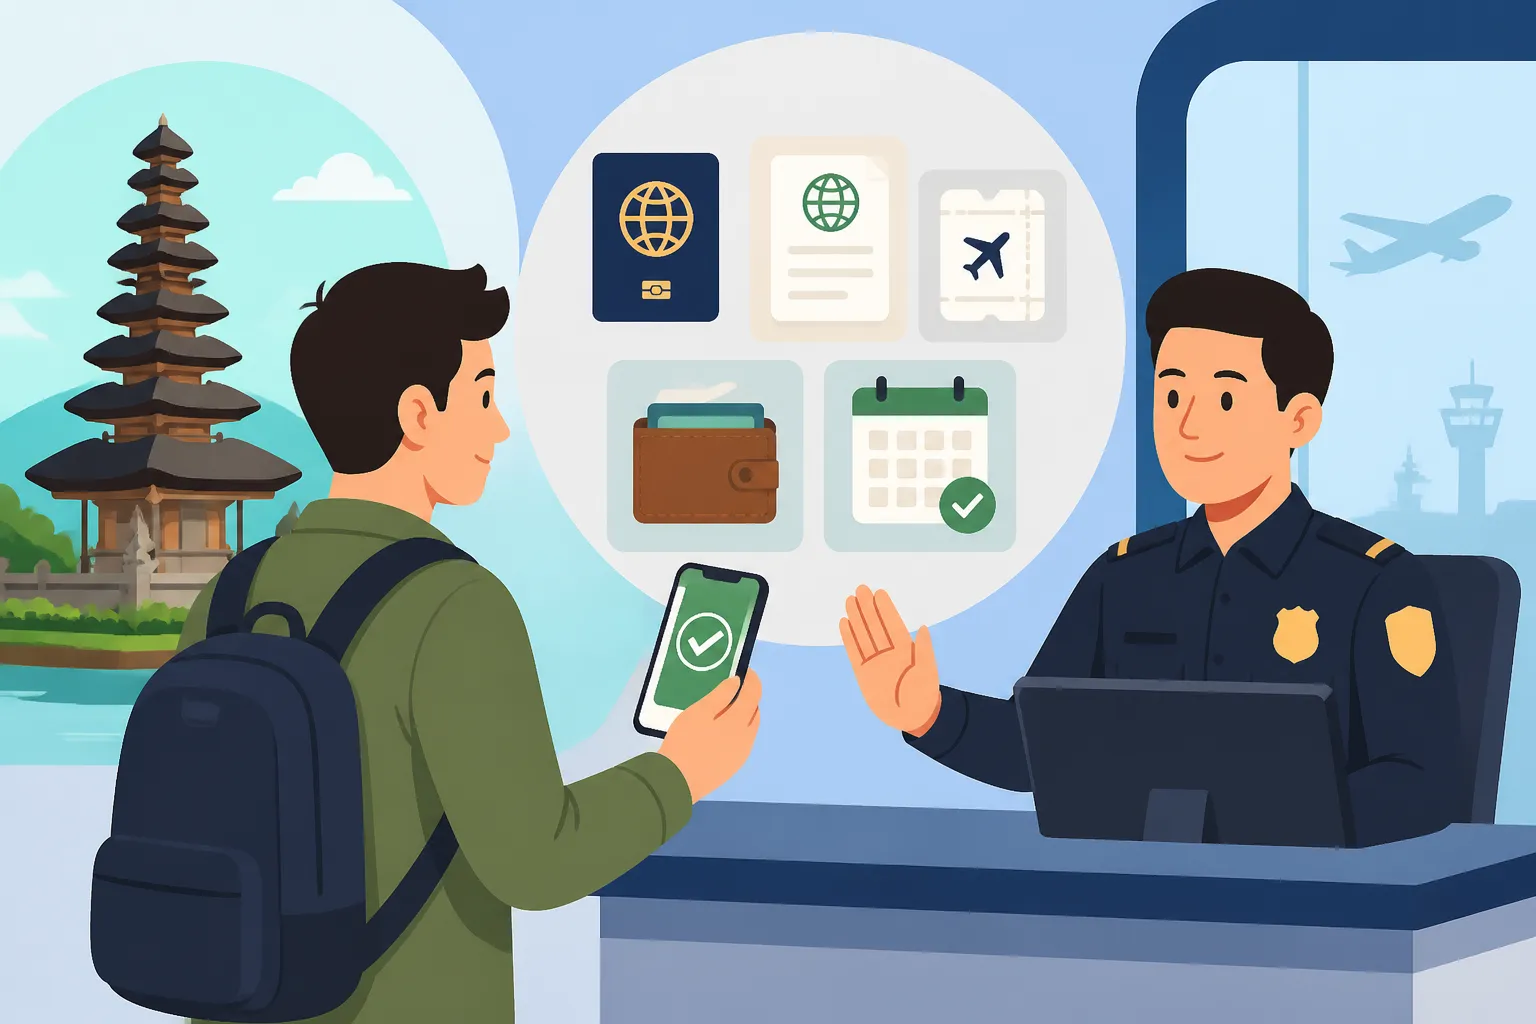
The golden rule of Indonesian immigration is that "digital is good, but paper is proof." While the system should technically have your visa linked to your passport number, never rely solely on the officer’s computer. System outages happen at Soekarno-Hatta more often than we’d like to admit. You should have a dedicated "Immigration Folder" in your carry-on that is easily accessible.
First and foremost is your E-Visa Grant Letter. This is the PDF document sent to your email, usually featuring a prominent QR code. Do not just show this on your phone screen with a cracked glass and 5% battery. Print two copies in high resolution. The officer will often scan the QR code to pull up your file on their terminal. If the scan fails, having a clear physical copy allows them to type in the visa number manually. Before you even fly, it is worth checking a Quick Checklist: Do I Need a Visa to Enter Bali in 2027? to ensure you’ve applied for the correct sub-category, as showing up with the wrong visa type is a one-way ticket to a stressful afternoon.
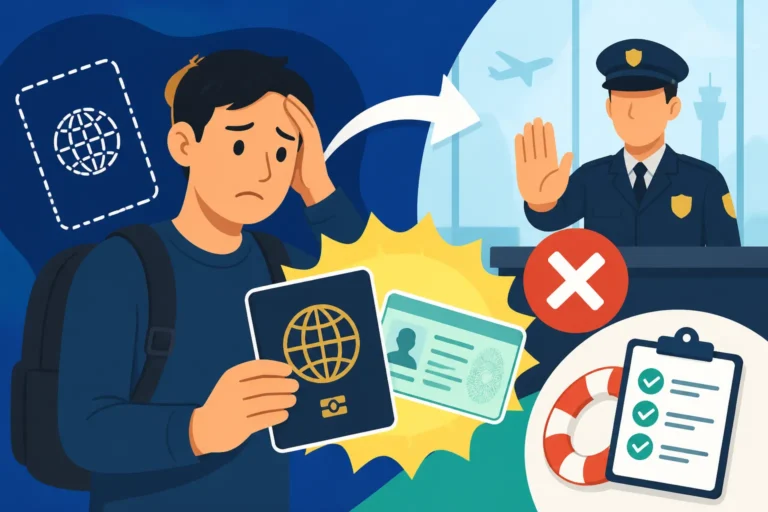
Beyond the visa itself, you must present a passport with at least six months of validity. This is a non-negotiable rule in Indonesia. If you have five months and 29 days left, most airlines won't even let you board, but if you do make it to the Indonesian border, you will be denied entry. Additionally, the officer will expect to see proof of onward travel. This means a confirmed flight ticket out of Indonesia within the duration of your visa stay. I’ve had friends try to use "reservations" that weren't fully ticketed, and the officers at Ngurah Rai are increasingly savvy at spotting these.
| Document Type | Format Required | Why It Is Crucial |
|---|---|---|
| E-Visa Grant Letter | PDF and Physical Printout | Contains the QR code linked to your biometric profile. |
| Passport | Original (Physical) | Must have 6+ months validity and two empty pages. |
| Onward Flight | Confirmed Ticket | Proves you do not intend to overstay illegally. |
| Proof of Accommodation | Address/Booking | Immigration needs to know exactly where you are sleeping. |
| Financial Proof | Bank Statement/App | Occasionally asked for to ensure you can support yourself. |
| Customs Declaration | QR Code (Electronic) | Mandatory for all arrivals to clear the final baggage check. |
Navigating the Immigration Hall: Step-by-Step Arrival Procedure
Once you deplane, follow the signs for "Immigration" or "Foreigners/All Passports." If you are in Jakarta, the walk from the gate in Terminal 3 to the immigration hall can feel like a marathon, so keep your folder in your hand. Before you reach the desks, you might see a health screening area. While most pandemic-era restrictions have faded, they occasionally perform temperature checks. If you are feeling unwell or have specific medical needs, having your Health Checklist for Your First 30 Days in Jakarta or Bali ready can help you explain any medications you are carrying.
When you reach the front of the line, greet the officer with a polite "Selamat Siang" (Good Afternoon). Politeness goes a long way in Indonesian culture. Hand over your passport and your printed e-visa. The officer will likely ask, "What is the purpose of your visit?" If you are on a tourist e-visa, the answer is "Holiday" or "Tourism." Avoid using complex terms like "remote working" or "business networking" unless you have the specific visa for those activities, as this can trigger a secondary interview. If your documents are in a language other than English or Indonesian, you may need to use a service like RushTranslate beforehand to ensure your supporting evidence is understood.
The officer will then take your fingerprints and a photo. Look directly at the camera and remove your hat or glasses. This is also the moment they might ask about your insurance. While not always mandatory for every visa type, having a policy from a provider like Cigna Global can serve as proof that you won't become a financial burden on the state if you have a scooter accident. Once they are satisfied, they will stamp your passport. This is the most critical moment: Check the stamp immediately. Ensure the date is correct and that it matches the visa type you applied for. Correcting a stamp error after you leave the airport is an administrative nightmare involving the local KanIm office.
Troubleshooting and Common Hurdles at the Counter
Not every arrival is a breeze. Sometimes the officer might see something in your history or on your e-visa that causes concern. One common issue is a mismatch in data. If you noticed a typo on your visa after it was issued, you should have already looked into Tracking Your Visa Status on Molina: What "Pending Payment" Means or corrected the application. If you are at the desk and they find a discrepancy, remain calm. Explain that it was a clerical error and offer any secondary ID you have, such as a driver's license or a copy of your birth certificate.
Another frequent pain point is the "Proof of Funds." While it’s rare for a standard tourist to be asked for a bank statement, if you are arriving on a long-term visitor visa (like the B211A) for the third time in a year, immigration might suspect you are living here without the proper ITAS. In this scenario, they may ask to see that you have at least $2,000 USD in accessible funds. Showing your mobile banking app is usually sufficient, but having a printed statement from the last 30 days is the veteran expat move. This is one of the top Visa Denial Reasons: Why Your Proof of Funds Was Rejected for those applying from offshore, and the same logic applies at the border.
If you are asked to go to the "Office" (the secondary inspection room), do not panic. It usually just means they need a senior officer to override a system glitch or verify a sponsorship letter. If you are being sponsored by a local company or individual, have their phone number ready. The officer may call them to verify your relationship. This is also why Airport Immigration: E-Gates, Fast Tracks, and Handling Customs Questioning is a vital read for anyone who wants to understand the layout and the "vibe" of the secondary screening process before they land.
Post-Arrival Compliance and Your Next Steps
Congratulations, you’ve cleared the desk! But your responsibilities don't end at the luggage carousel. Before you leave the airport, you must complete the Electronic Customs Declaration (ECD). Most airports now have QR codes on pillars as you walk toward the exit. You fill this out on your phone, and it generates a QR code that you scan at the final gate. If you are carrying expensive electronics or a new phone, be aware of the Mandatory IMEI Registration: The 90-Day Rule and Airport Customs Process. If you don't register your phone's IMEI at the airport customs desk, your local SIM card will stop working after 90 days.
Once you reach your villa or hotel, you are legally required to be reported to the local authorities. Most hotels do this automatically via the SIKN system. However, if you are staying in a private Airbnb or a friend's house, you must ensure the owner reports you to the local "Banjar" or police. If you plan on staying long-term, you will eventually need to learn How to Obtain a Surat Domisili (Domicile Letter) from the Village Head to open bank accounts or extend your visa.
Finally, keep a digital scan of your stamped passport page and your e-visa on a secure cloud drive. If you lose your passport while exploring the rice terraces, having these copies will make the replacement process much faster. Indonesia is a beautiful country, but it rewards the prepared. By following these steps and understanding the nuances of the Visa on Arrival (VoA) and B211A Tourist Visas: What You Can and Cannot Do, you ensure that your first memory of Indonesia is the sunset over the Indian Ocean, not a cold chair in an immigration office.
Disclaimer
The information provided in this guide is for general informational purposes only and does not constitute legal or professional immigration advice. Immigration regulations in Indonesia are subject to frequent changes without prior notice. Always verify the latest requirements with the official Indonesian Directorate General of Immigration or a qualified legal professional before traveling.